Major Assignment 1 [MA1]
You have now reached the point in the course where you will be assessed and graded on the practical skills covered to date. You will be required to submit evidence of sound acrylic and gel application by mailing us six (6) practice tips prior to being assessed as competent to progress onto providing treatments on live models.
While we will be looking for aesthetically pleasing nail enhancements, the primary learning outcomes against which you will be marked in this assignment are related to safety. You will recall from your theory that we want to avoid applying any nail product (except cuticle oil) to the cuticles and surrounding skin, as this increases the likelihood of a contra-action/allergic reaction, affects the curing of gel products, and can be potentially harmful for your clients if the product then needs to be removed from the skin. In order to avoid this, you will need to have developed sound skills in controlling your product in the application process.
In addition to this, incorrect placement of critical structural aspects of your enhancements (apex and C-curve) can lead damage/breaking of the natural nails.
You must achieve a pass/competent mark in this assessment to progress onto the remaining assignments. If you are assessed as ‘not yet competent’, you will be provided with feedback and guidance and asked to resubmit your assignment. You may attempt this assignment as many times as is required to achieve a pass/competent mark.
Major Assignment Outline
Your major assignment requires you to complete and send in the following items:
- Practice tip 1: Acrylic enhancement on a square nail, shaped with a nail file
- Practice tip 2: Acrylic enhancement on an oval nail, shaped with a nail file
- Practice tip 3: Acrylic enhancement on a squoval nail, shaped with a nail file
- Practice tip 4: Gel enhancement on a square nail, shaped with a nail file and finished with gel polish and top coat
- Practice tip 5: Gel enhancement on an oval nail, shaped with a nail file and finished with gel polish and top coat
- Practice tip 6: Gel enhancement on a squoval nail, shaped with a nail file and finished with gel polish and top coat
You are required to firstly shape your practice tip using the techniques demonstrated at the start of the video tutorial contained in Lesson 5.5 Intro to gel application. You are then required to apply either gel or acrylic products, before shaping the nail with nail files to achieve the desired shape and structure.
Once filed (to achieve your desired nail shape and structure), there is nothing more to do with your acrylic tips, however please finish your gel tips with your choice of a gel polish provided in your supplied kit, and supplementary products, in accordance with the video tutorial contained, again, in Lesson 5.5 Intro to gel application.
Assessment criteria
You will be assessed against each of the below criteria:
- Evidence of product control (no signs of product leaching outside of artificial nail bed.
- Correct formation and placement of the apex in relation to length of the artificial nail
- Correct formation of the C-curve
- Smooth tapering of product to the nail tip and cuticles, and appropriate thickness in these areas
- Symmetry achieved in shaping the nail
- Even coverage with gel polish and evidence of topcoat used (gel tips only)
Submitting your assignment
Assessment of this first assignment will be conducted in two stages. Firstly, you are required to upload a series of images of your completed practice tips via the below Assignment Upload Portal. Your Course Facilitator will then assess your work and advise you if they are deemed satisfactory for sending in for physical assessment via the comment section of the below assignment portal.
Once you are advised that your tips are suitable for sending in, you will be sent a pre-paid postage label. Affix this label to one of the two postage parcels supplied in your training kit, and return to us via post. Further guidance on sending in your tips will be provided once your images have been assessed.
Uploading your images
To allow for initial assessment of your practice tips, please upload images in line with the below examples. A tip for taking these photos is to use a ball of blu-tac to prop up your practice finger.
Part 1: Overhead image of all six (6) finished practice tips [one (1) image in total]
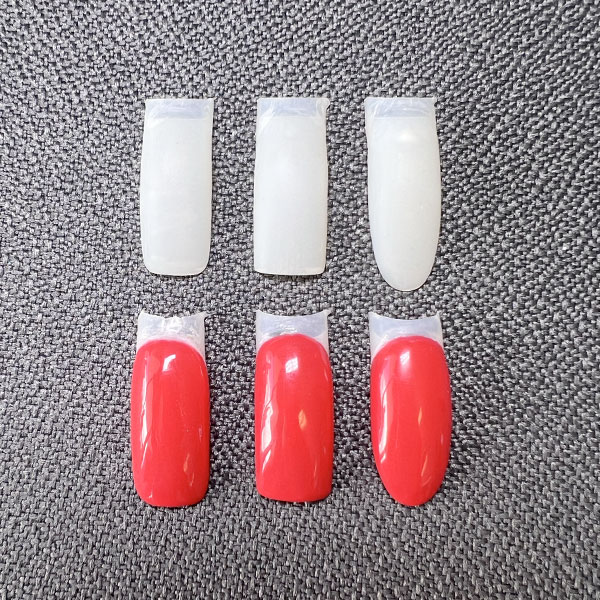
Part 2: Gel tips [six (6) images in total]
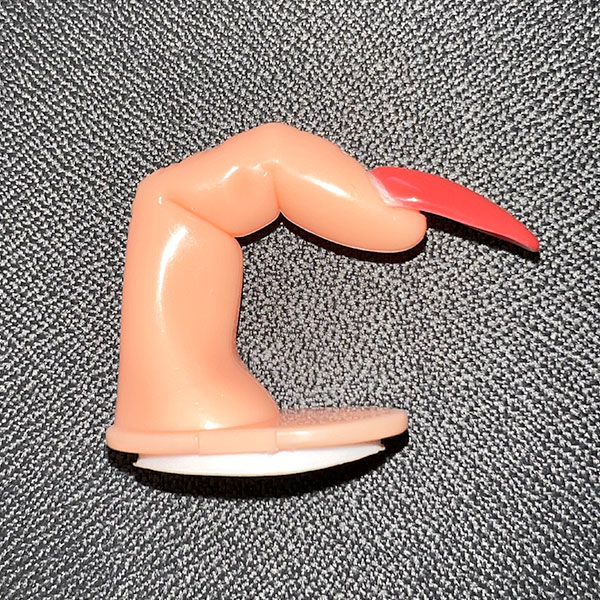
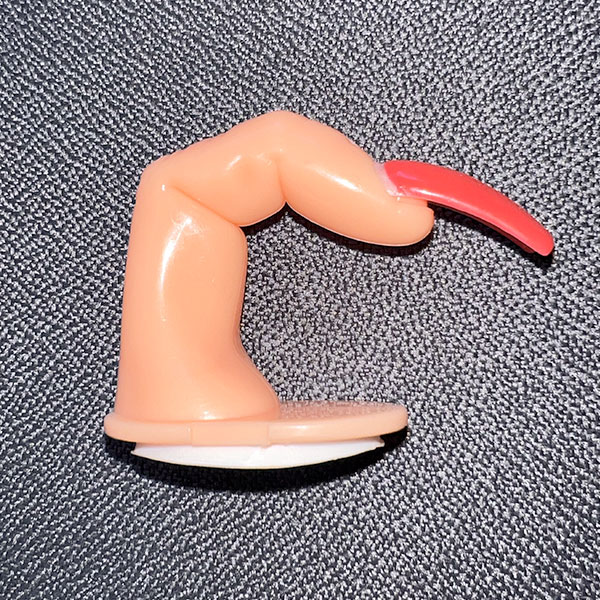

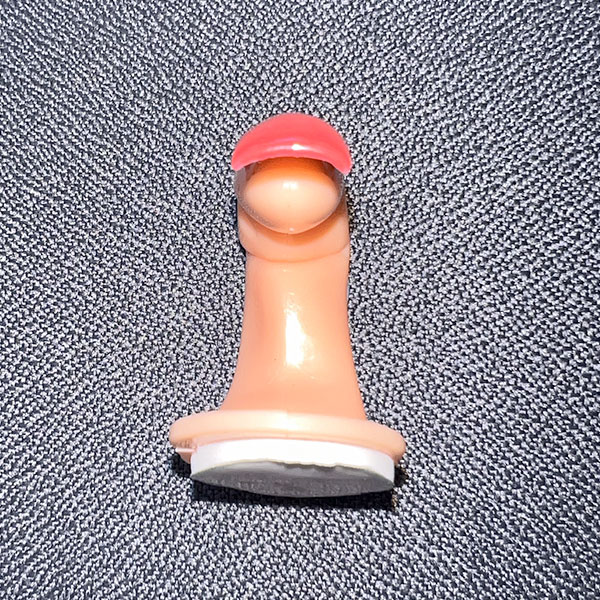
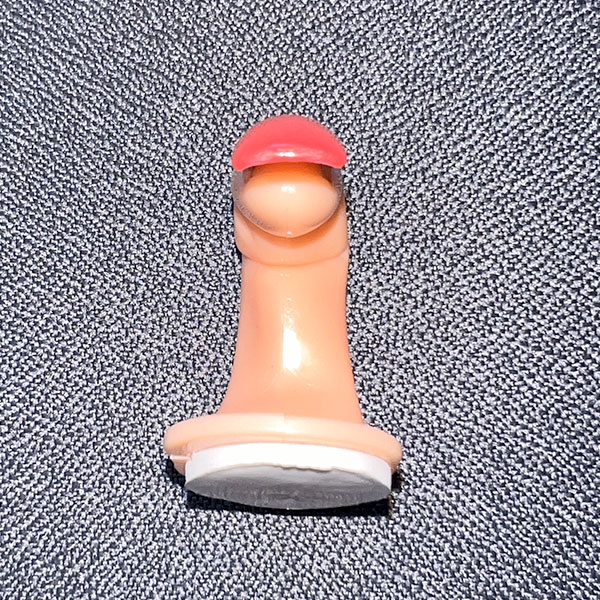

Part 3: Acrylic tips [six (6) images in total]
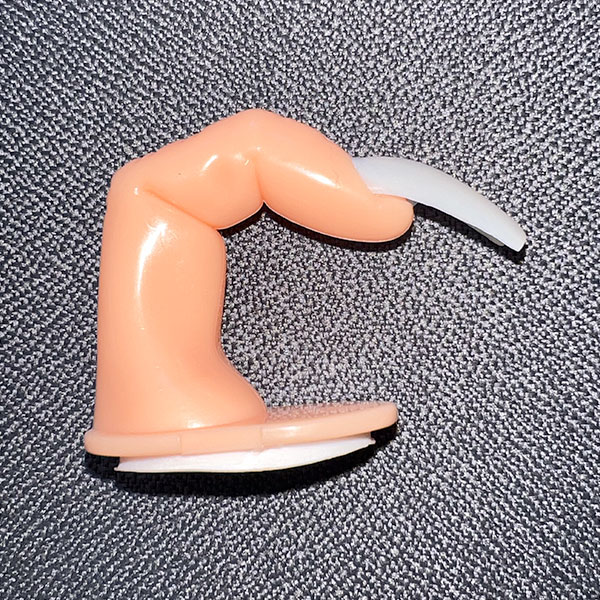
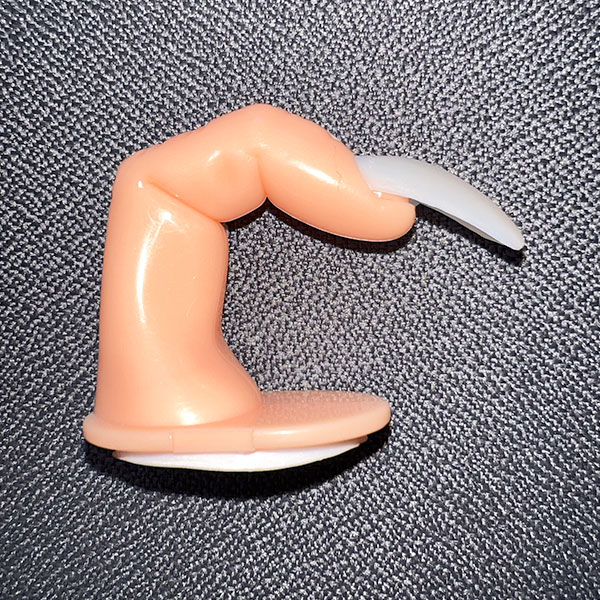
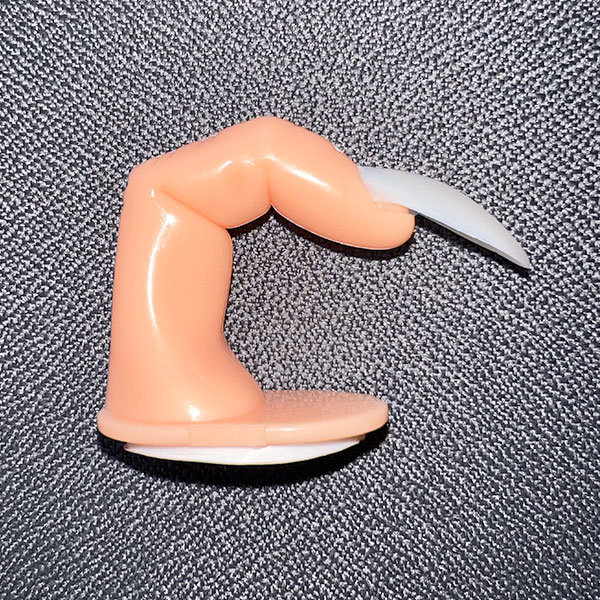
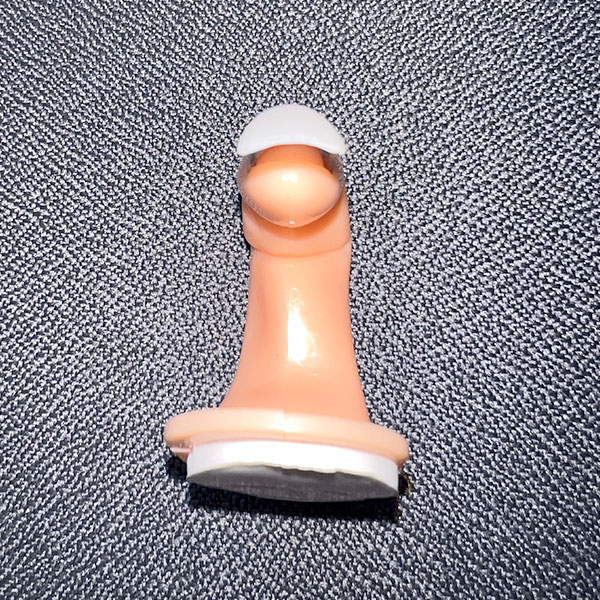

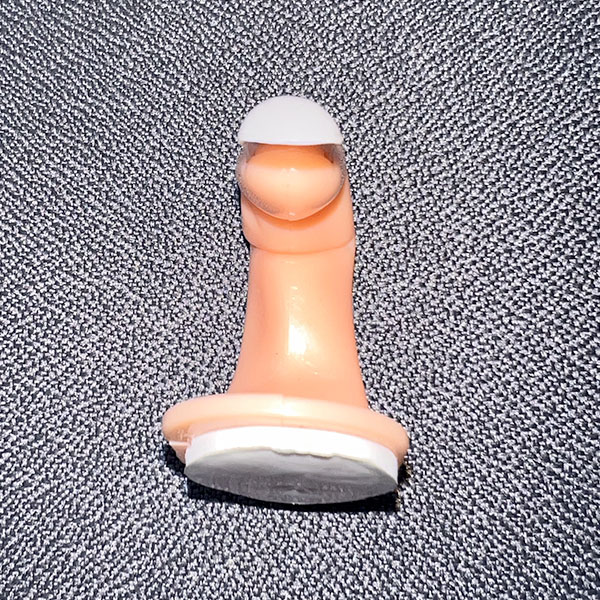
Please ensure there is sufficient lighting to clearly show your work in all images.
Please upload your 13 images via the below portal. Good luck!
Sorry. You must be logged in to view this form.