6.6 Major assignment 1 [MA1]: Mannequin application
By now, you will have mastered your application techniques on your mannequin. Congratulations! You should be both proud of your progress to date and beginning to feel like a professional lash tech in the making.
Before you begin practising on models, we need to assess your skills and provide you with some tailored feedback. It is critical that you complete this assignment, receive feedback and achieve a satisfactory result before progressing onto Major assignment 2: Model application [MA2]. It is for this reason that your second and final assignment is password protected. You will be emailed a unique password to access the second assignment once you have successfully passed this assignment and received your tailored assessment feedback.
In this first assessment, you will need to demonstrate each application technique you have learned in this course. In turn, we will be assessing your techniques for the following lash sets:

In this assignment, your assessor will be looking to see that you have:
- Selected the correct lash lengths and diameters
- Applied the correct amount of glue
- Correctly attached the extension to lash strip
- Ensured the direction and uniformity of applied extensions are aesthetically pleasing
- Achieved a full set, ensuring you applied lashes to all eligible natural lashes
- Ensured that there were no ‘stickies’ by finishing the set correctly
- Provided a detailed description of the process you took, the decisions made, and any issues you overcame
When completing volume lash sets, our expert will be looking to see that you have created and attached your own hand-made fans using the correct ratios.
To ensure that we can provide you with tailored feedback, you will need to provide a short summary of the process you used and what informed your decision making, as well as photographs of your work. For each technique, we will require a total of nine (9) photos to be uploaded via the below assignment form.
Examples of the images we require, and the applicable angles, are as follows (all images are to be taken once each lash set has been completed):
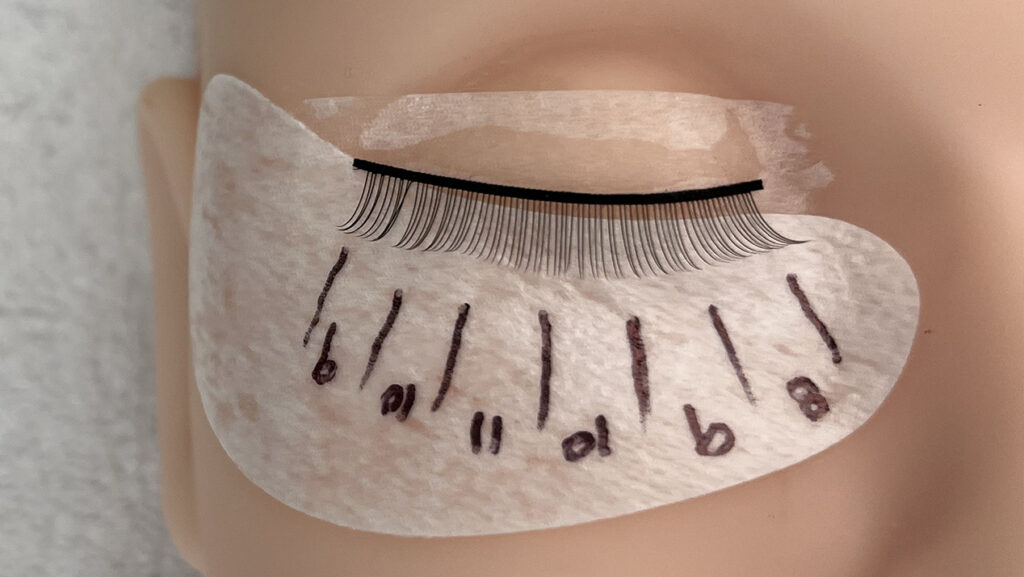
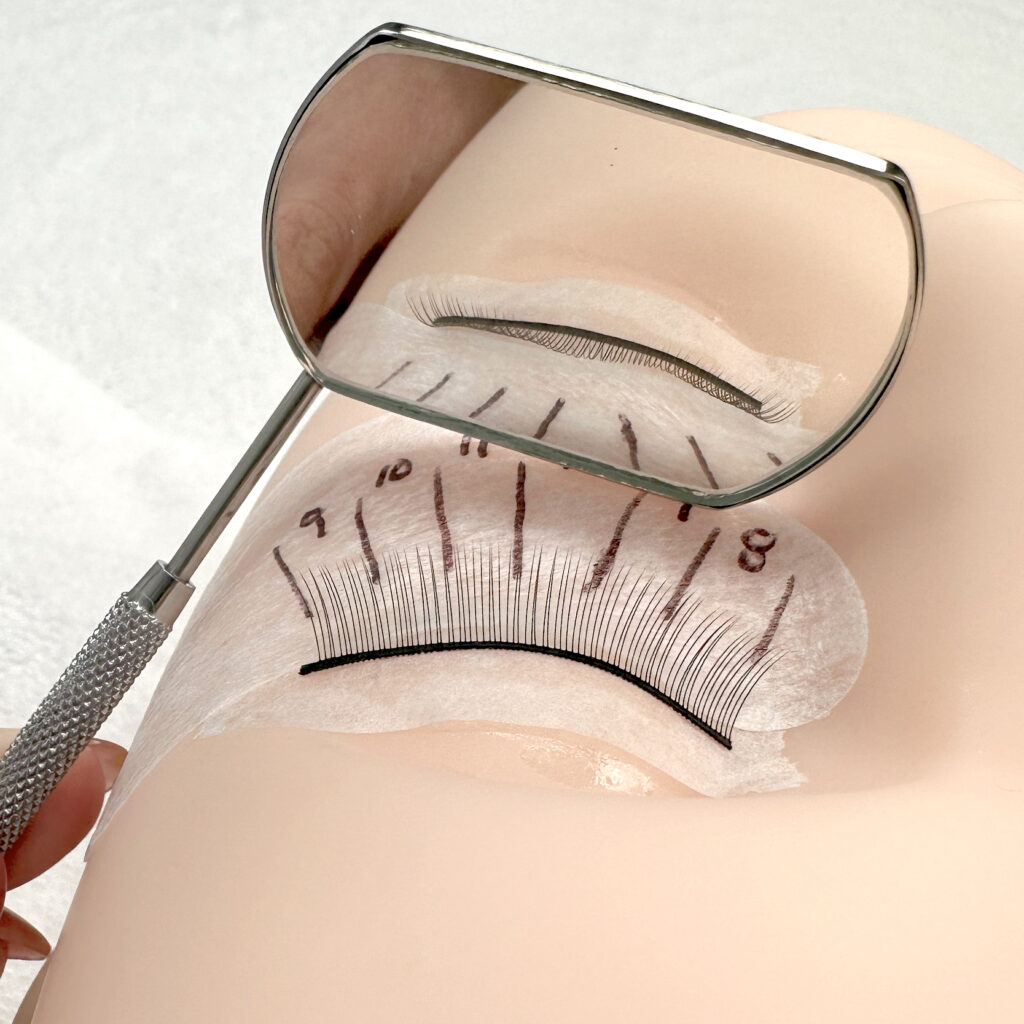
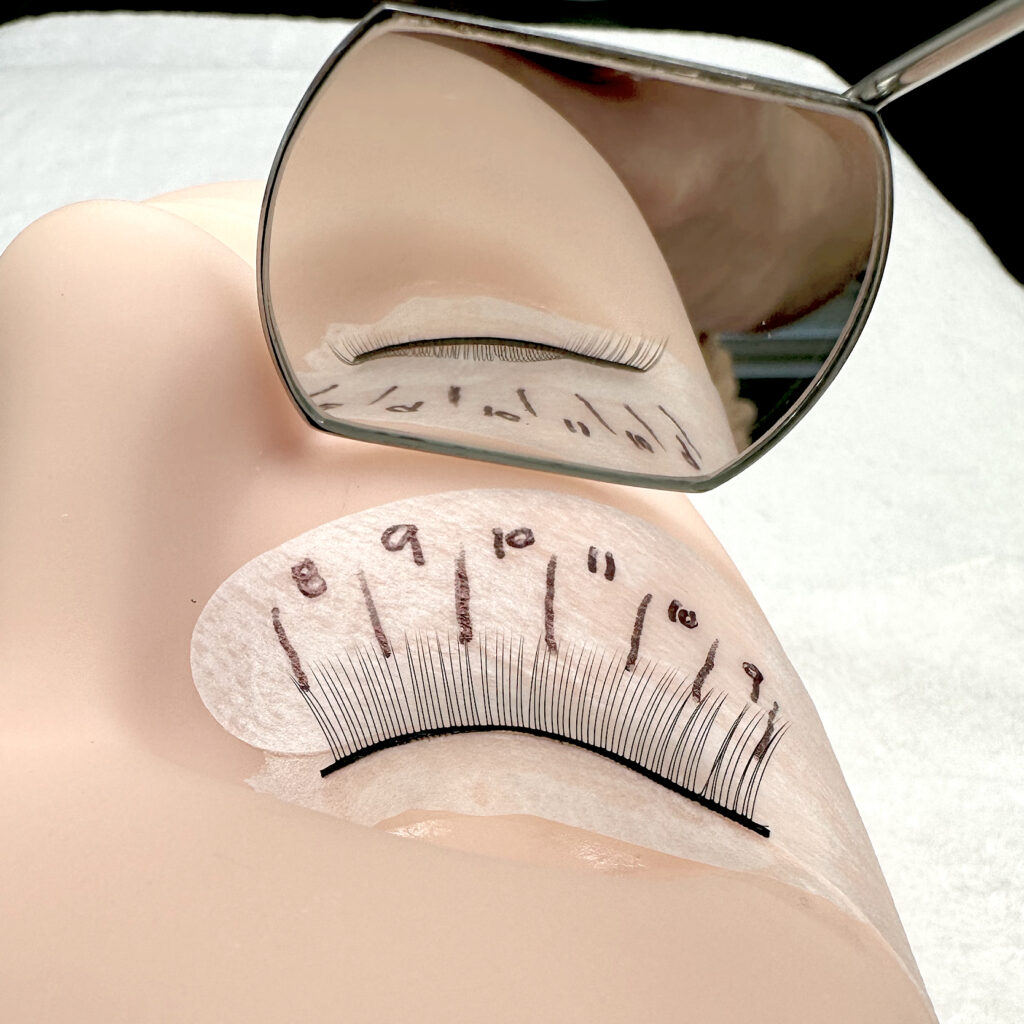
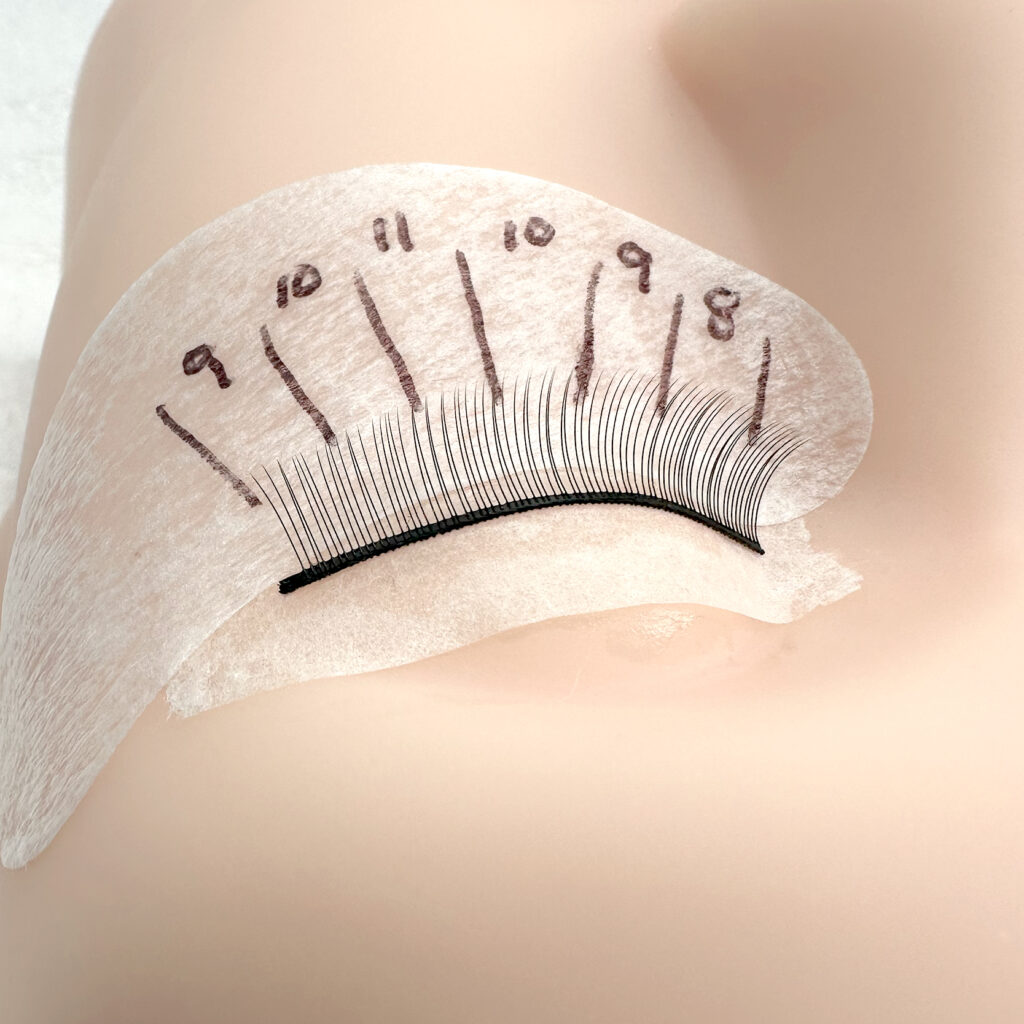
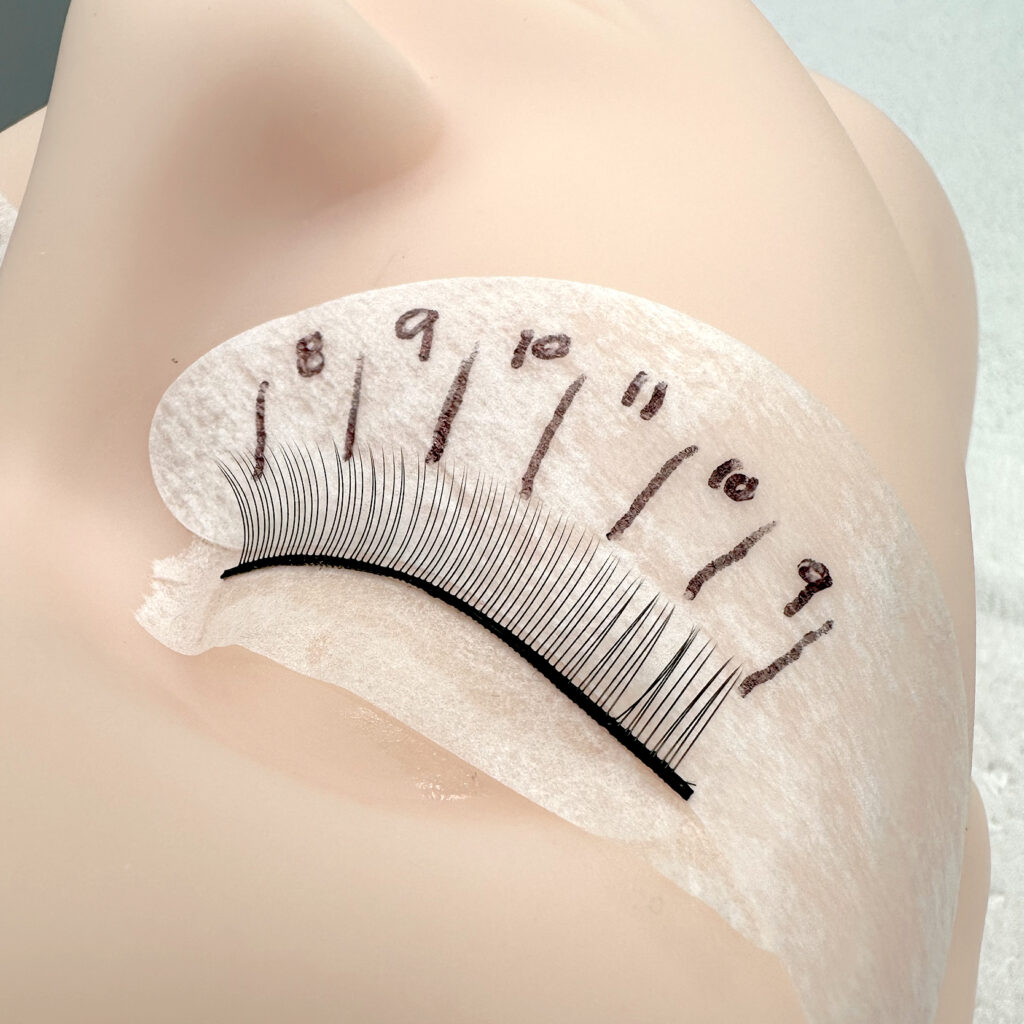
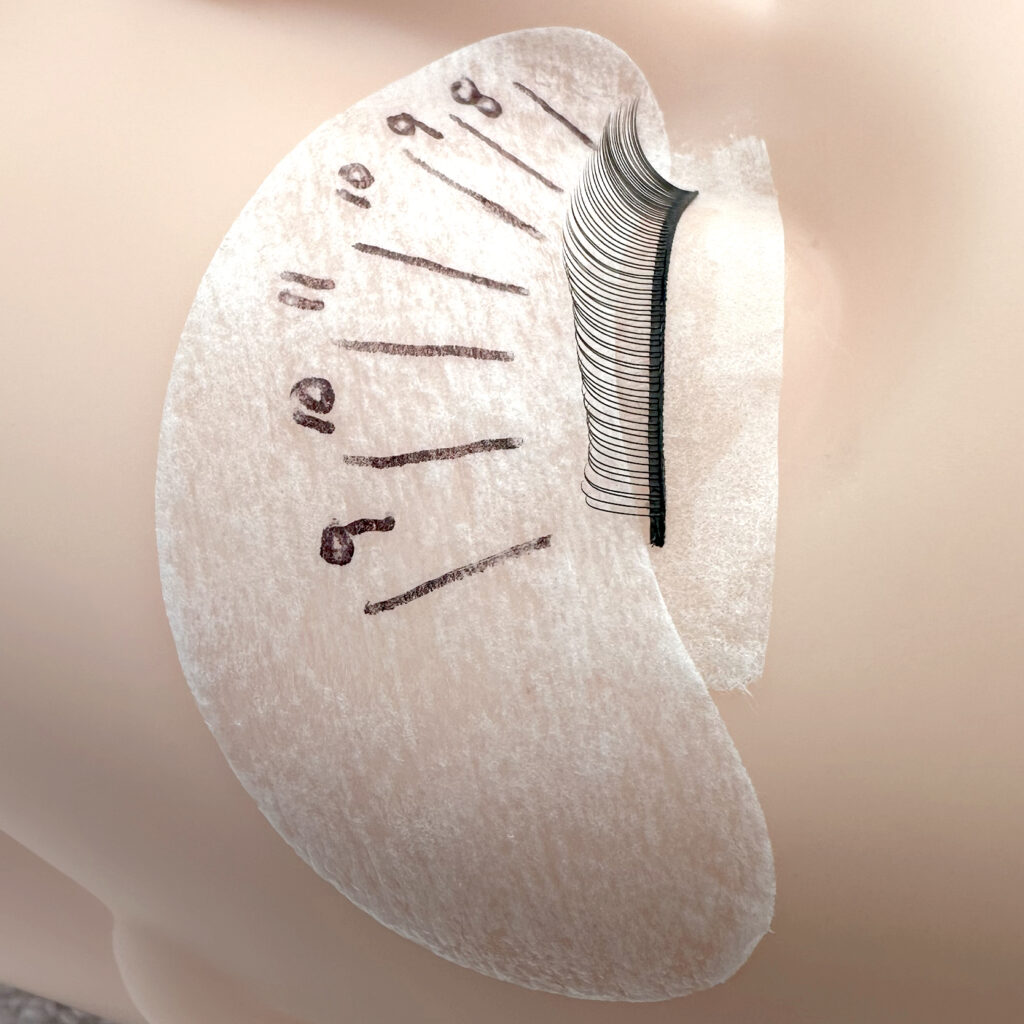
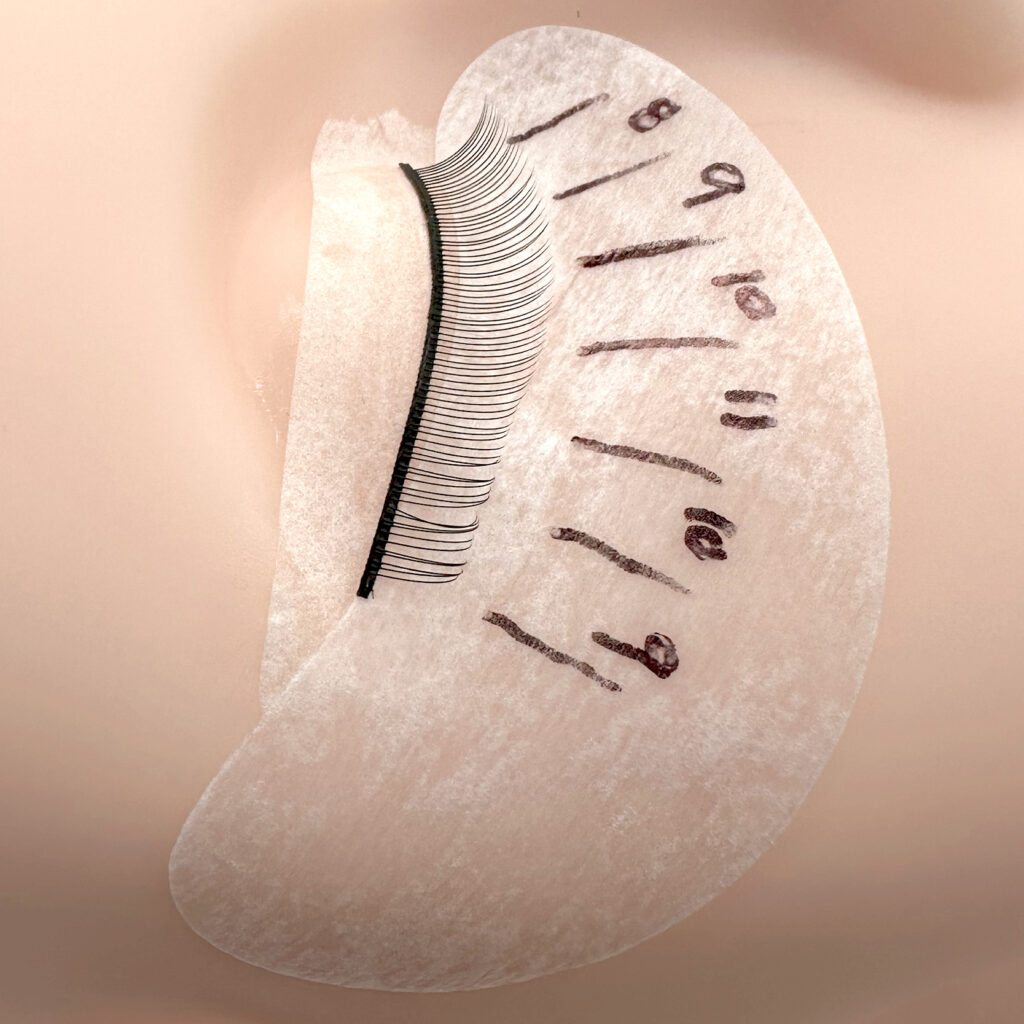
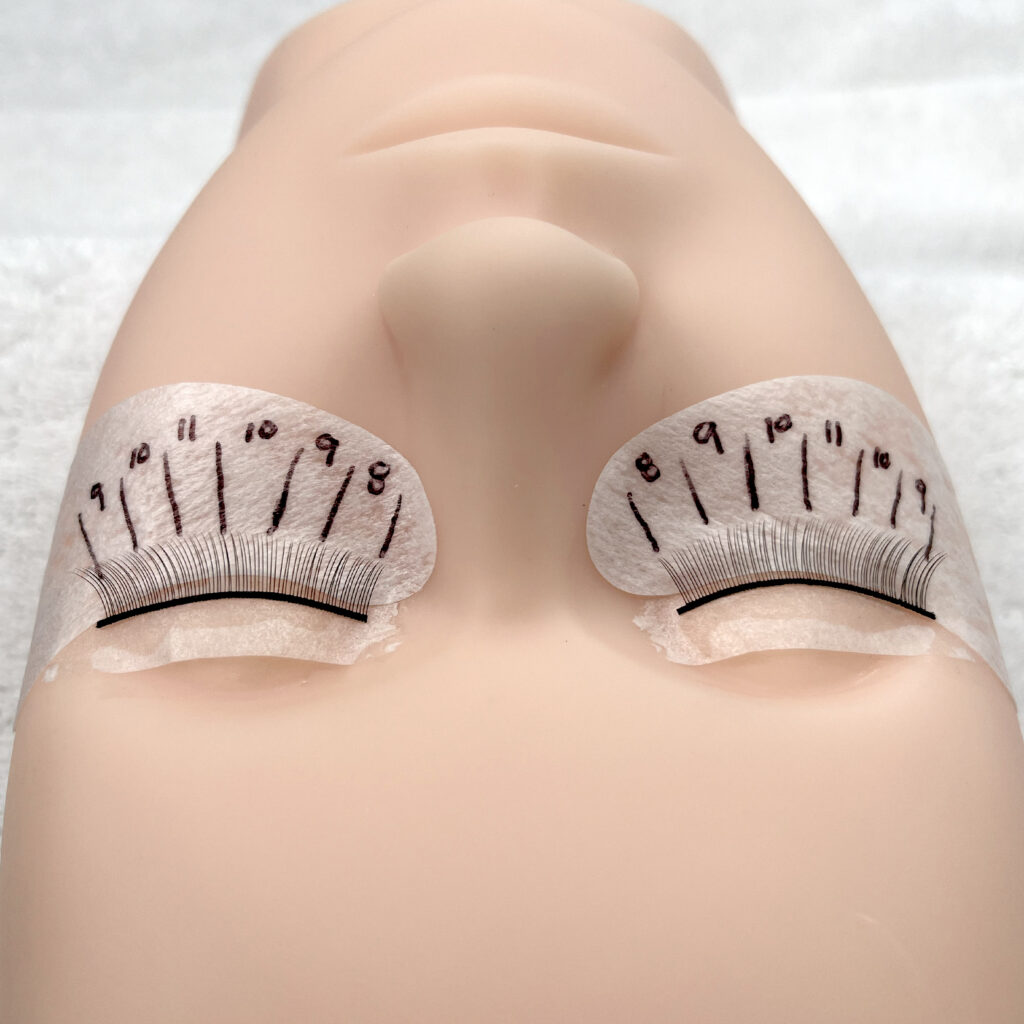

Note these images are to show you the angle of each shot only. No extensions have been applied to these practice lashes. You are to photograph your finished work AFTER you have applied your sets.
When taking your images, you will need to ensure that you have sufficient lighting, and be sure to include all of the above angles to allow your assessor to see your application technique in full.
For some tips on how to take amazing lash photos, access the resources linked:
To submit this assignment, please complete all five (5) parts of the below assessment form.
Good luck!
Sorry. You must be logged in to view this form.