4.2 Tools and equipment
You have all the tools and equipment that you will need when you are starting out in your kit. As you become more experienced, you will likely want to test out other tools, and your kit will continue to grow. In this lesson we will look at the various tools and equipment common in the nail enhancement industry.
Nail scissors
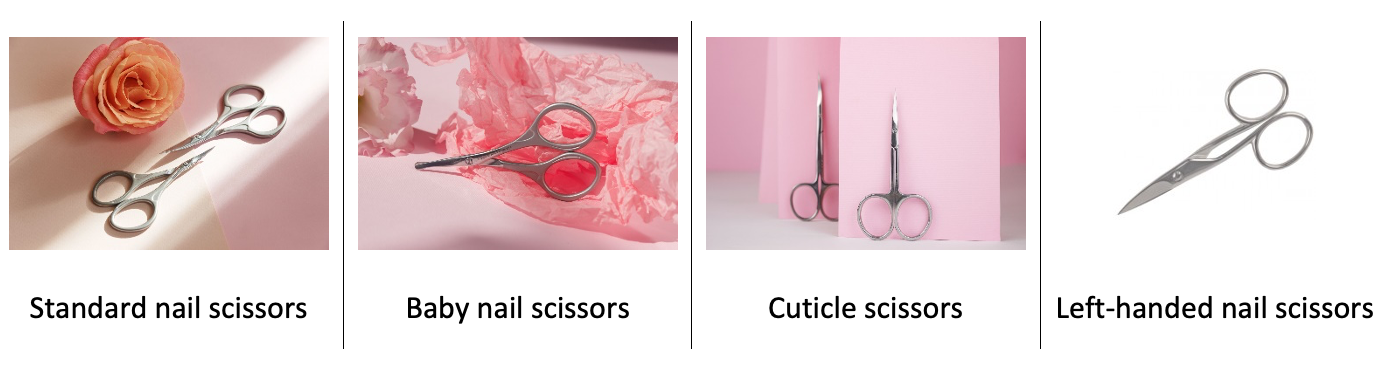
Scissors are a must-have as a nail technician because you will need them to trim nails, trim nail forms, and they can even be used to trim the cuticle! There are loads of different types of scissors available, with some examples shown:
Cuticle pushers
Cuticle pushers come in all shapes and sizes and are usually made from metal (stainless steel) or wood. Cuticle pushers tend to have different shaped ends, and some are double-ended with a cuticle pusher on one side (rounded tip) and a cuticle knife/scraper on the other (angled tip). Here are a couple of examples:


Marbiliser / Dotting tool
A marbiliser (also known as a dotting tool) is excellent for marbling acrylic, gel and polish. You can also use them as acrylic impression tools and for picking up nail art embellishments such as rhinestones and other jewellery.
You have a marbling tool and dotting tool in your nail kit, so you are all set to start practising your marbling and other nail art techniques later in this course!
Nail clippers (straight and curved), tip cutters and cuticle nippers
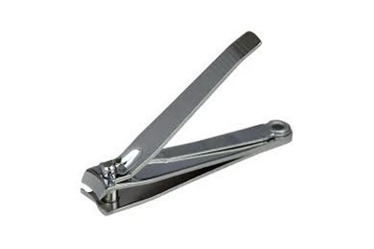
Nail clippers are a nail technician staple. We use them to trim the natural nail, trip false nail tips, and they can also be handy when removing full sets. Nail clippers have come a long way, and there is a huge range available. As a technician, you should have the standard nail clippers as well as tip cutters and nippers. Examples of each have been provided below:


Tweezers
When you first start delving into nail art, picking up and handling tweezers can be a bit tricky! There are a range of tweezers available to use, and the differences between each type are mainly to do with the tip. Here are a some examples:

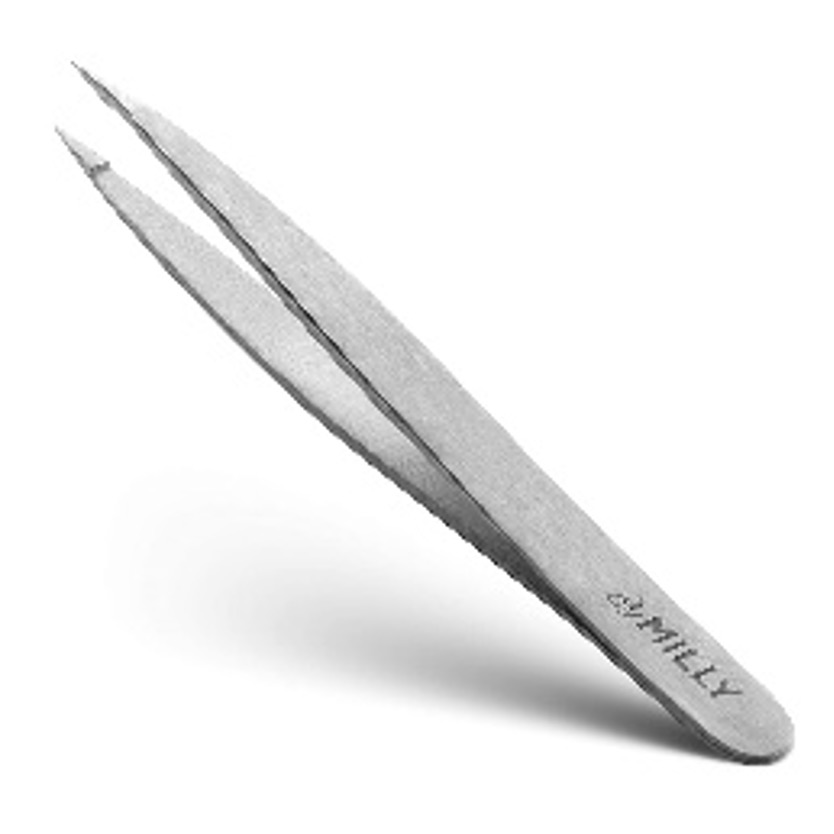

Depending on your supplier, these tweezers may also be categorised as curved, inverted, pointy, slanted, straight and isolating tweezers. Given the rising popularity of lash extension services, the tweezer product market is now bigger than ever! In terms of what tweezer shapes will be best for applying nail art, the point tip tweezers can be great for intricate embellishments, and the slant tweezers can be a good all-around tweezer to have. At a minimum, always have a pair of slant tweezers or straight tip tweezers in your kit.
Most professional tweezers are made from titanium or stainless steel. The reason they are made from these materials is that they are hard wearing and safe to use on clients skin. Depending on the grade of stainless steel, they may contain a small amount of nickel, which can cause reactions in clients’ with nickel allergies and other sensitivities. Do not be fooled by products marketed as ‘hypoallergenic’.
Key phrase | hypoallergenic: Hypoallergenic means that a product is ‘unlikely’ to cause a reaction.
As the definition suggests, hypoallergenic means that a product is unlikely to cause a reaction, but that doesn’t mean they are allergy-proof! While stainless steel tools will be fine on most clients, if you are concerned about causing allergic reactions, then you should opt for titanium tools. If you are ordering your tools from overseas, particularly from countries where rigorous compliance with alloy materials is not mandated, you can also purchase nickel tests to detect the presence of nickel. You can order these tests online, and they are relatively inexpensive and will give you some peace of mind that your tools are made from the materials they are supposed to be made from.
Dust extractor/vacuum
Protecting the health of yourself and your clients has to be your number one focus. Dust can be a serious issue for nail technicians, especially when using e-drills and when working with gel, as there is so much fine dust that develops when filing gel! Dust can literally get everywhere – on your workspace, on your skin, on your clothes and in your lungs. When you have a dust extractor, vacuum or collector, this helps to keep your workspace neat and dust-free.
There are loads of options available on the market, and you can pick up dust extractors for as little as $70 (although there are some cheaper advertised on Amazon and eBay). Of course, some are better than others, and with anything, you will get what you pay for. If you plan on having a career in nails, you have to prioritise your health. Plus, a dust extractor means less cleaning #winning. Here are some options you might like to consider:
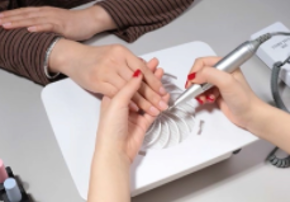
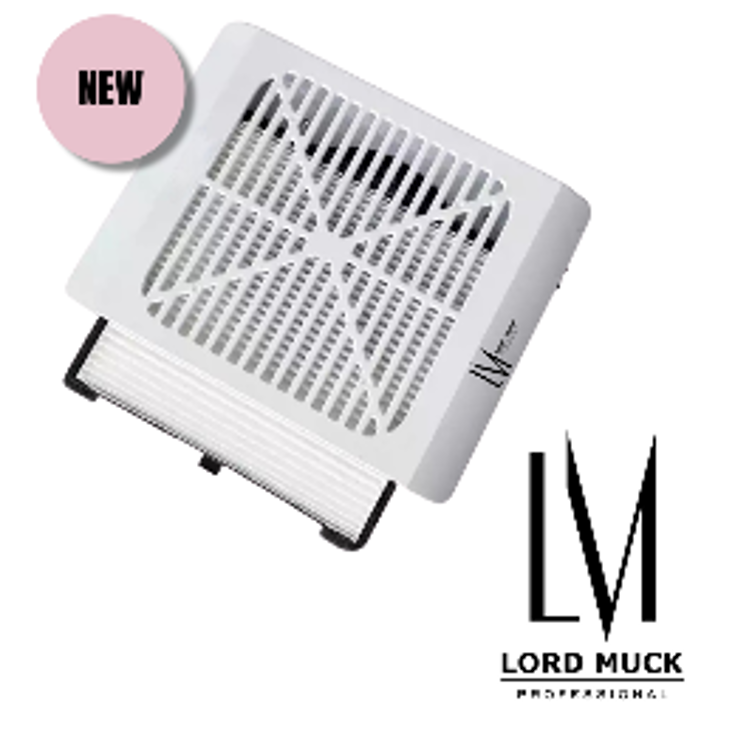
For most nail dust collectors, you will need to change out the air filters regularly, so keep this in mind when you are deciding on which one is best to purchase. Do your research and see what other nail technicians say in their reviews!
Mixing dish/plate
To maintain proper hygiene, products that can be decanted (poured out) onto a mixing plate or palette should be. There are loads of options available when it comes to mixing dishes and plates, and they come in plastic, stainless steel or titanium. When mixing dyed, a mixing dish can be perfect. There are some palettes and plates with rings attached so you can wear them while you are performing your nail services. What you decide to use is totally up to you! A maxing dish or plate can simply be a tile, a sheet of plastic or a dish. They are really handy when you are practising your acrylic pearls!
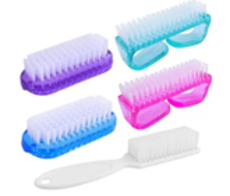
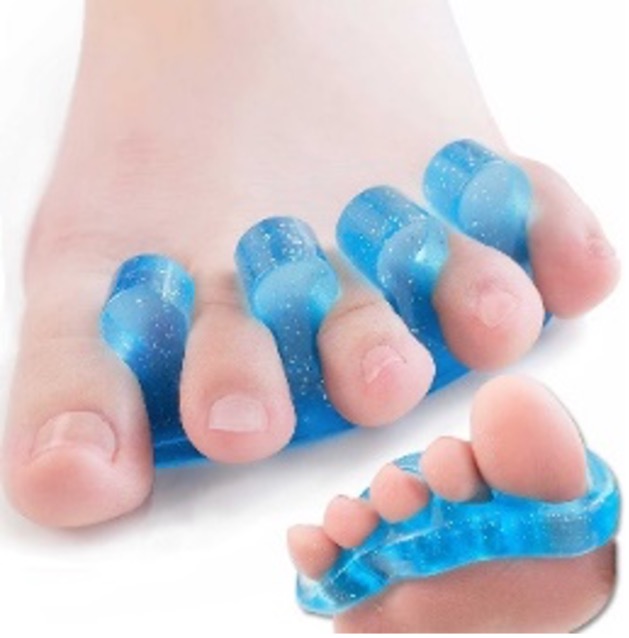
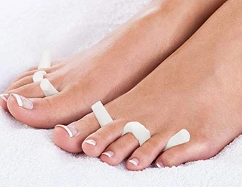
Standard nail scrub brush and toe separators
Self-explanatory, nail scrub brushes and toe separators do what the packet says! Nail scrub brushes can be used to clean the nail plate, clean under the free edge, and when dry, can be handy to help remove dust particles. Toe separators are great to use when doing pedicures to keep your client’s toes from touching. If you are ever missing toe separators from your kit, you can always roll up some paper towel or eco roper and weave it in between the client’s toes.
Dryer
Investing in quality nail dryers is absolutely worth the money. Being able to dry the nails more quickly means that your services will take less time, and you do not have to wait around to move on to the next step of the process! There are loads of dryer options on the market today, including compact fans, UV lamps and LED lamps.
Acrylic application brushes
Brushes used for acrylic application have natural fibres or bristles, and just like gel brushes, they come in a wide range of shapes and sizes. The image below shows you some brushes as an example:
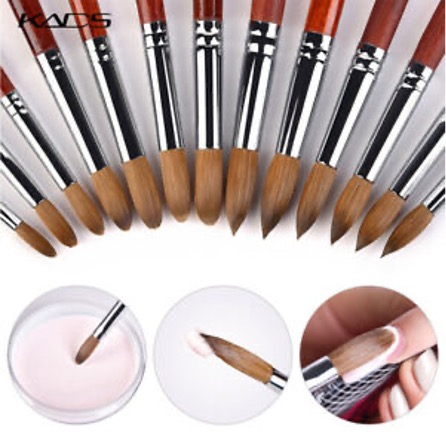
In addition to different brushes, you also use a dappen dish that holds the liquid monomer when in use. Dappen dishes were originally used in dentistry, so given the acrylic nail was invented by a dentist, this is not a surprise!
Gel application brushes
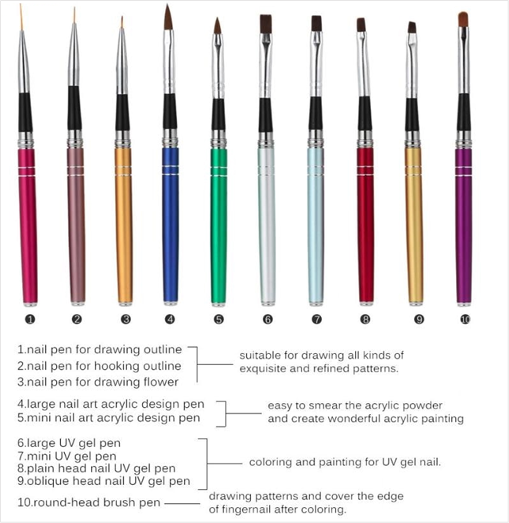
Using the correct brush for the right application is absolutely essential for gorgeous applications each and every time. There are hundreds of different brushes you can use, and some brushes are better for particular applications. While there are no set rules, the image above will give you an idea about which brush is best for each task.
Aside from different application purposes, brushes can come in a range of different materials. These can be categorised into two main categories – synthetic or natural:
| Brush type | Overview |
|---|---|
| Synthetic – best to use with UV Gel | Synthetic brushes have bristles constructed with man-made hairs of nylon, polyester or other synthetic materials. These types of brushes are used for gel applications. |
| Natural – Best to use with Acrylic | Real or natural brush fibres are made from various animal furs and hairs. Natural animal-hair brushes can outlast synthetics, and if you use one for gel accidentally, it can be removed, but it will take a lot of effort! |
When you are setting up your workstation, it can be useful to have separate storage for your synthetic and natural brushes so that you do not mix them up! You may also want to have specific brushes for glitter products, as glitter can be really tricky to get out of brushes.
Curing lights
You will learn when we cover acrylic nails later in the course that the ratio of the products mixed is essential to creating perfect acrylic nails. With gel nails, the equipment used for curing is equally important.
Gel curing process – UV light
Traditionally, gel nail polish is cured by UV wavelengths. The light emits a broad range of UV wavelengths at a lower concentration and energy than LED that hits molecules in the gel called photoinitiators, or compounds, that absorb light and convert it into the energy needed to drive the polymerisation process. When the light from the UV waves bond with those molecules, it activates them, making the gel “cure” into hard plastic.
Put simply, the UV light reacts with the gel formulation, which causes the product to harden. LED lights work similarly, but they emit narrower UV wavelengths with higher concentrations and more energy. This means they tend to cure much faster than UV. LED bulbs also last much longer than UV bulbs, typically lasting 50,000 hours in comparison to 10,000 hours for UV lamps.
All light lamps will have different processing times, so you must always read the equipment manual. As you learned earlier, heat spikes can occur when using lamps to cure gel nails. Unfortunately, this can be unavoidable, and if your client does experience any heat, then they can take their hand out temporarily.
Nail files and buffers
Nail filing is the process of gently grinding down the natural nail to shape them. In terms of tools use for filing, there are essentially two categories: hand nail files and electric files, or electric drills. In this lesson, we will focus on hand nail files, while we will look at the electric nail drill in the next lesson.
All nail files come in different shapes, sizes and grits. Grit is a measure of the coarseness of the file, and is indicated by a number. As a general rule:
- The higher grit, the less coarse the nail file’s surface
- Conversely, the lower the grit, the coarser the file
Your choice in grit depends on the task you need to complete. For example, a 240 grit nail file is perfect for prepping natural nails prior to a UV gel polish, as it will provide a smooth finish. In contrast, an 80 grit nail file is best for taking down length and shaping the free edge, as it is coarser and will grind down the nail faster and with less effort.
To put this into perspective, view the image below:

Extra fine and ultra-fine grits are perfect for buffing the nail, and they can leave a high shine on the nail. If you have clients with brittle nails, then you are best using medium to fine grits when shaping the nails as coarse grits may cause more splitting and damage. When using a new file, whether it be a hand file or an e-file, you need to ‘season’ them. To do this, simply take another file and run it along the edges of the new file to soften and dull it, as this will prevent cuts and harsh edges.
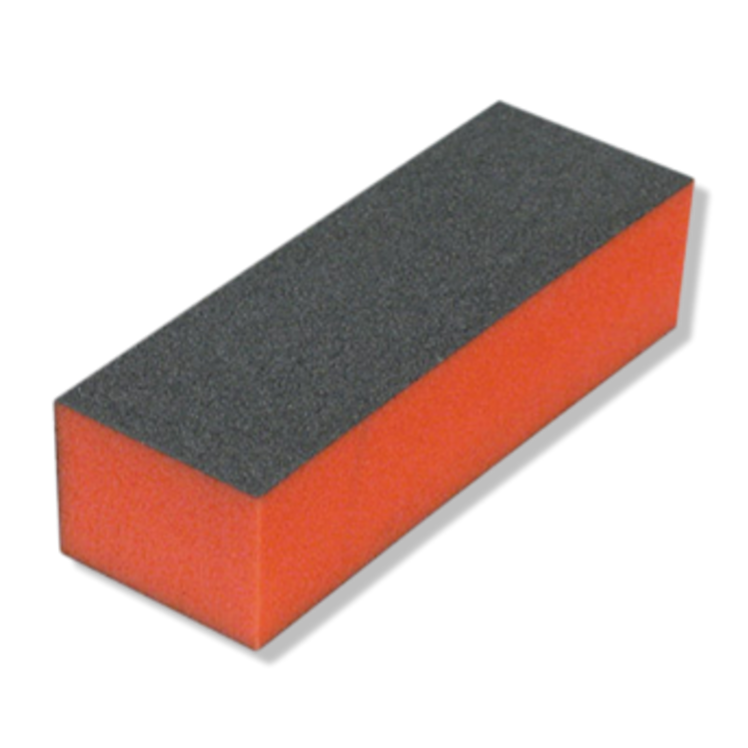
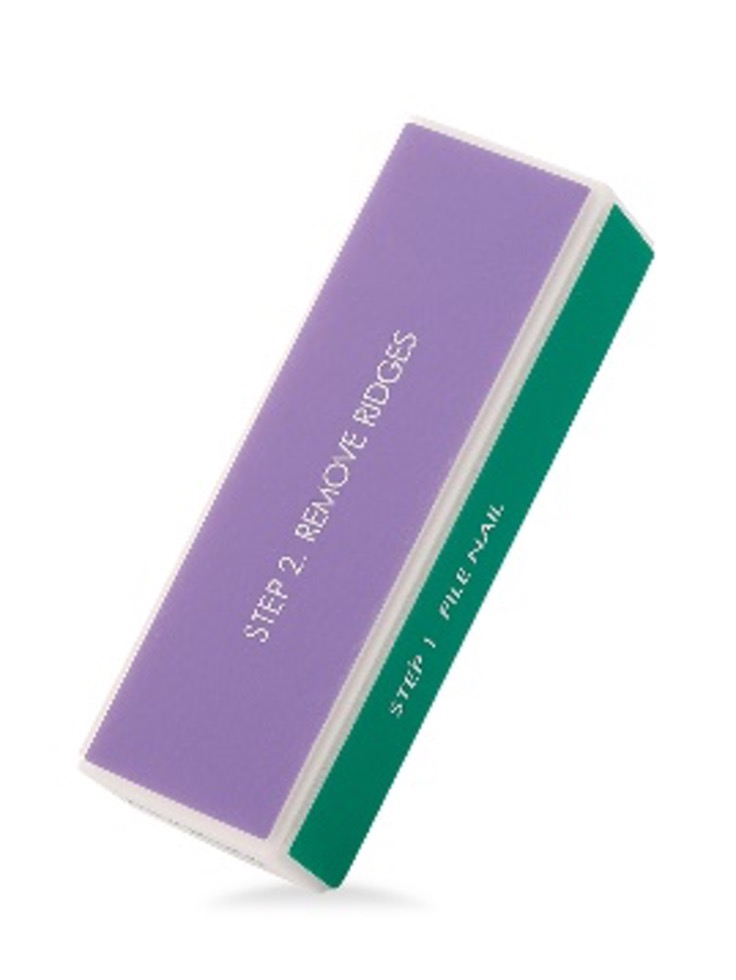
Buffing the nail plate can be done using extra-fine and ultra-fine grit nail file or buffers. Buffing can be excellent to prepare the nail plate for polish, and it can also be perfect for adding shine to the nail plate when a client does not want any polish to be applied. Buffing is also great for clients who have slight vertical or horizontal ridges on the nail plate. There are loads of buffing tools on the market, and here are a couple of examples: