5.3 Nail shape and structure
When it comes to creating the perfect nail enhancement, you are primarily working on two things: nail shape and nail structure. Mastering these two skills will have you well on your way to becoming a pro Nail Technician.
Nail shape
You will recall from our lesson on the history of nail enhancements that various nail shapes have come in and out of fashion throughout the past century. While some have been phased out, we still refer to the majority of those shapes today:
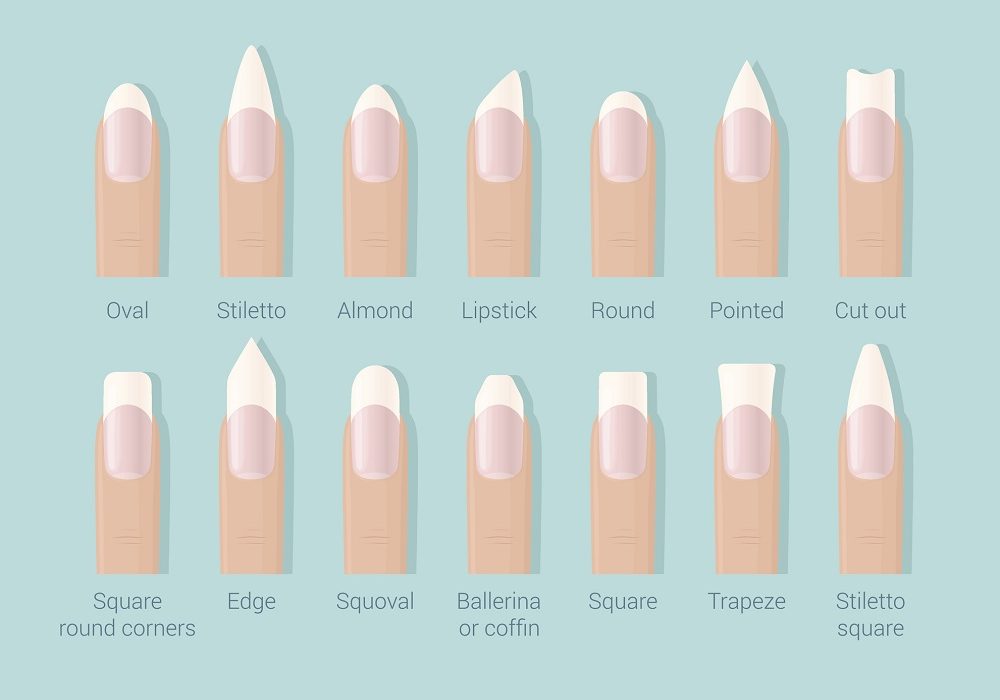
While the above image covers just about every shape in use in the industry, there are seven nail shapes that are highly popular and you will find you will use 99% of the time. These are detailed below:
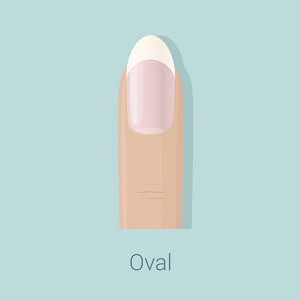
Oval
The oval shape is similar to almond but the tip is filed to mimic an egg-like appearance. It’s an elongating shape that works well for shorter finger because it tends to make the nail look longer by adding length.
Ideal for: Small hands with short fingers
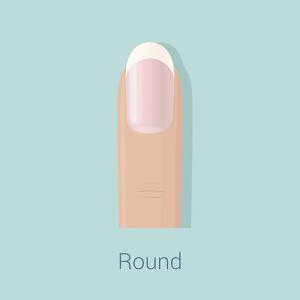
Round
Round nails mirror the contour of the nail with a circular edge at the tip. If your client’s fingers are short, round nails are suitable as this look acts to soften and slim and helps shorter fingers look more elongated.
Ideal for: Short fingers with wide nail beds
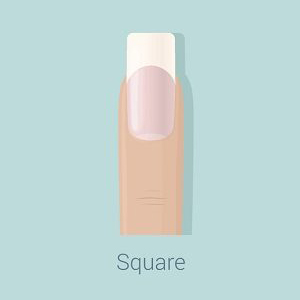
Square
Square nails are straighter on the sides with a blunt top edge, which is achieved by filing in a straight line. These nails are only really suited to client’s with a narrow nail bed and long fingers, as with anything else this nail shape can cause the hands to look shorter and stubbier.
Ideal for: Long fingers with narrow nail beds
Squoval
A squoval shape is the easiest shape to maintain. For most of your clients, it will be how their nails naturally grow, so the upkeep is just about evening out the shape. This shape is flattering on every finger type because it’s the most natural; however, it does look the best on nails that are not longer than the fingertip.
Ideal for: Works on any finger type

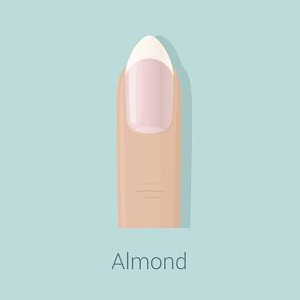
Almond
An almond-shaped nail is slim on the sides and wide at the base, coming to a rounded peak. This shape will act to lengthen short fingers and make them look slimmer. The key is to file the sides and make sure the tip is narrow, so the free edge mimics a peak shape.
Ideal for: Short, wide fingers
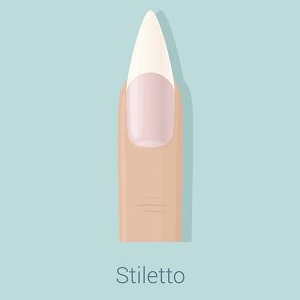
Stiletto
Stiletto nails are dramatic, long, and filed to a pointed tip, which is the toughest to maintain since it’s the most susceptible to breakage. This shape looks best on long nails but to maintain this shape, you’ll need gels or acrylics to reinforce the nails. To create this look, file the sides into a tapered point on the free edge.
Ideal for: Long fingers
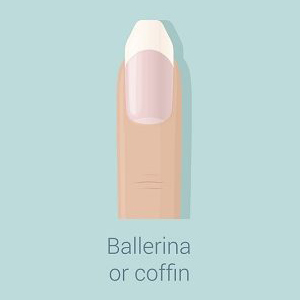
Coffin or Ballerina
Mimicking the shape of a coffin or a ballerina pointe shoe, this shape is tapered on the sides. Coffin and ballerina nails are narrower than a typical square shape with a squared-off tip. This shape works well for people who have naturally strong, long nails and slim fingers. To create this shape, square off the free edge.
Ideal for: Slim fingers with strong nails
You will learn how to firstly trim down and then file tips into the above shapes in an upcoming video tutorial.
Nail structure
The second aspect to creating aesthetically pleasing and durable nail enhancements is nail structure. When we use the term ‘structure’ in nail technology, we are referring to the body or thickness of the nail enhancement. Have you ever wondered why artificial nails have more of a curve, whereas our natural nails are flatter? The curve in the middle of the artificial nail is known as the ‘apex’.
Key term | Apex: The apex should be the highest point of an enhancement, located at the weakest point and created to give the nail balance and strength. It should be visible from every angle but is most noticeable from the side view.
As explained, the nail apex is where extra strength is built up at the weakest point of the nail. When we do not properly build and balance the apex, the nail will likely break at the stress point, causing not only pain but the inconvenience of having to have the nail repaired. From the apex, gel/acrylic should:
- Gradually taper in an arc (the body of the arch) to a thin layer at the tip (the lower arch)
- Transition smoothly from the apex toward the cuticle and from the apex to the sidewalls
The position of the apex will vary with different nail shapes and lengths. In general, the apex will sit in the back third of the nail enhancement. It is important to remember that the longer the nail enhancement the larger the apex will need to be in order to provide structure and stability. And remember, nails will continue to grow, so if your apex is not far enough back the nail will gradually weaken.
Building on our natural nail anatomy, there are structural parts of an artificial nail. The image below outlines the key elements:
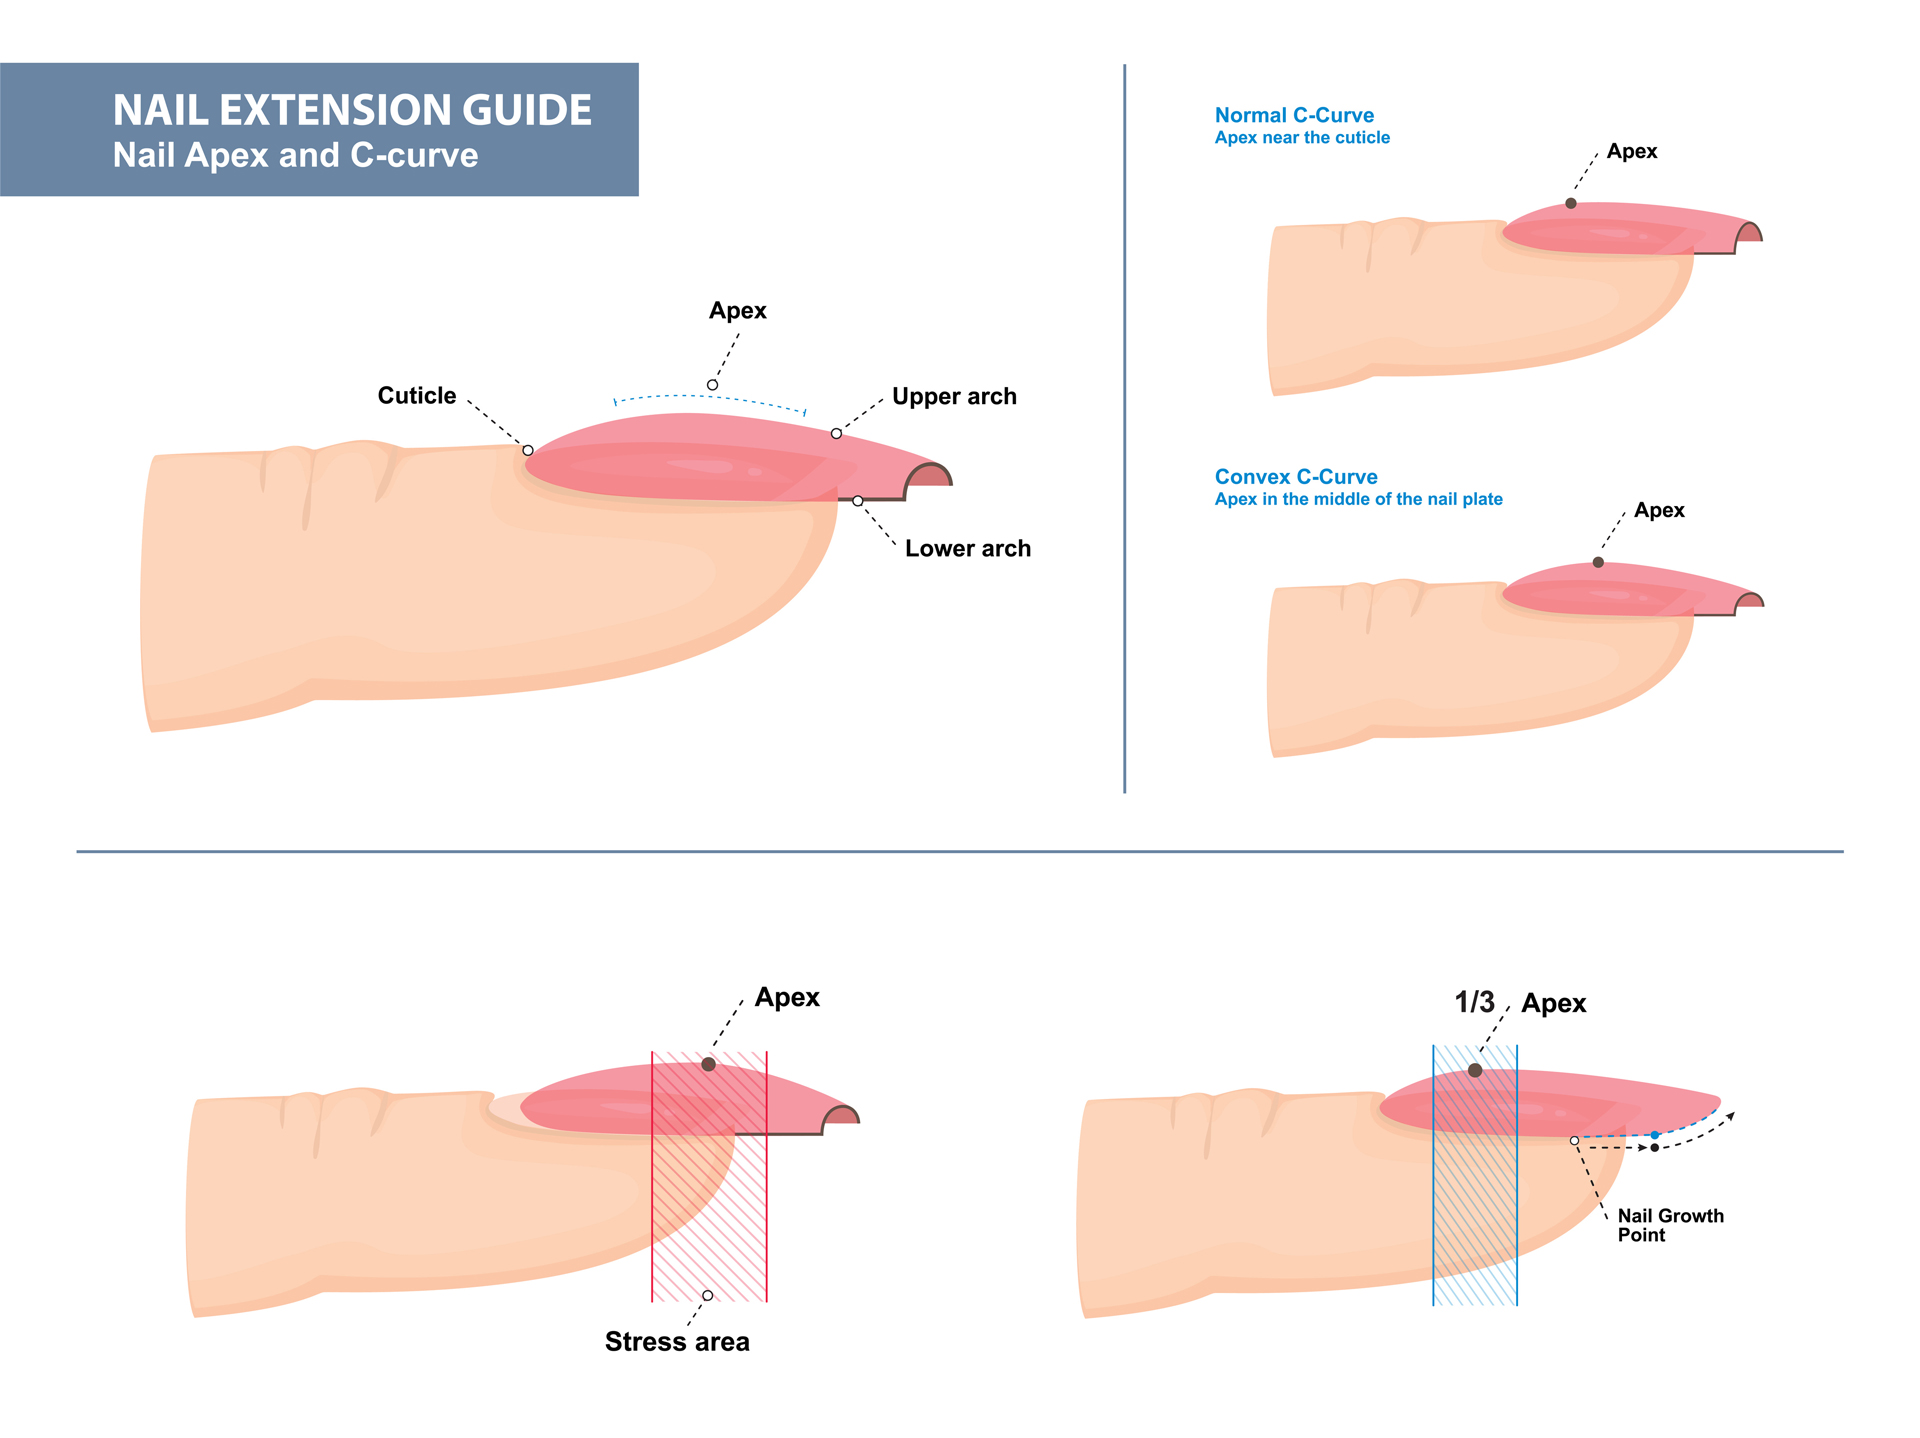
As you can see in the above image, in addition to the apex (part of the upper arch), we also need to consider the C-curve (lower arch). Put simply; the C-curve is the arch we see when looking at the nail from the tip toward the cuticle. Just like a correctly formed apex, a c-curve helps to provide extra strength and stability to the nail. If the c-curve is too thick, your clients won’t be able to pick up anything, and if it is too thin, the free edge will be brittle. You might have thought the strength of artificial nails came from loading up gel/acrylic, but it actually comes from properly sculpting the apex and c-curve.
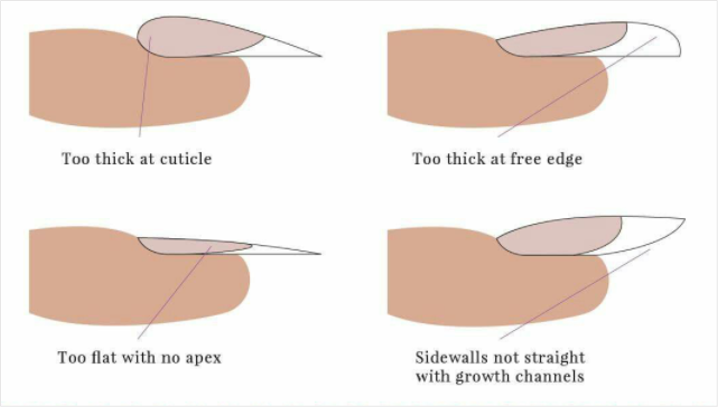
Here are some examples of what an incorrect apex looks like:
Before we move on and look at how we create these shapes and structures, it is important to note that when we are creating the above nail ‘shapes’ we generally use the term ‘filing’ into shape, as the majority of the process of creating nail shapes is done with a nail file.
When we are creating the above desired nail ‘structure’, we use the term ‘shaping’ the nail. So don’t get confused if in the upcoming video tutorials we use the terminology of shaping to create structure!
To learn more about creating the perfect apex and c-curve, watch the videos linked: